Getting started
Add & manage folders
Folders are how you tell Glyfen where to look. Add the folders that hold screenshots, receipts, and document photos — Glyfen indexes only these and nothing else.
Open Manage Folders
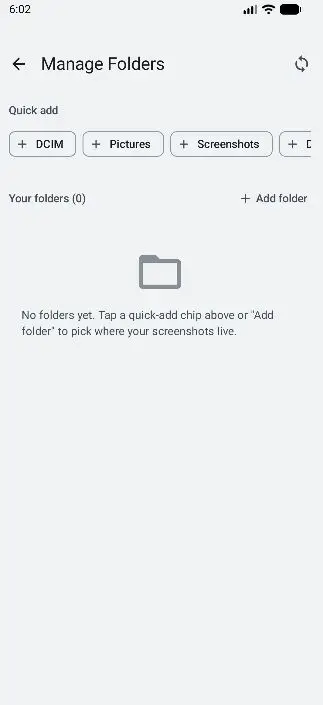
Reach this screen two ways: tap Pick Folders on the first-launch empty state, or go to Settings → Scan Behavior → Manage folders. When empty, it shows “No folders yet” with a row of quick-add chips.
Add a folder
The fastest way is a Quick add chip — DCIM,
Pictures, or Screenshots — which are the folders
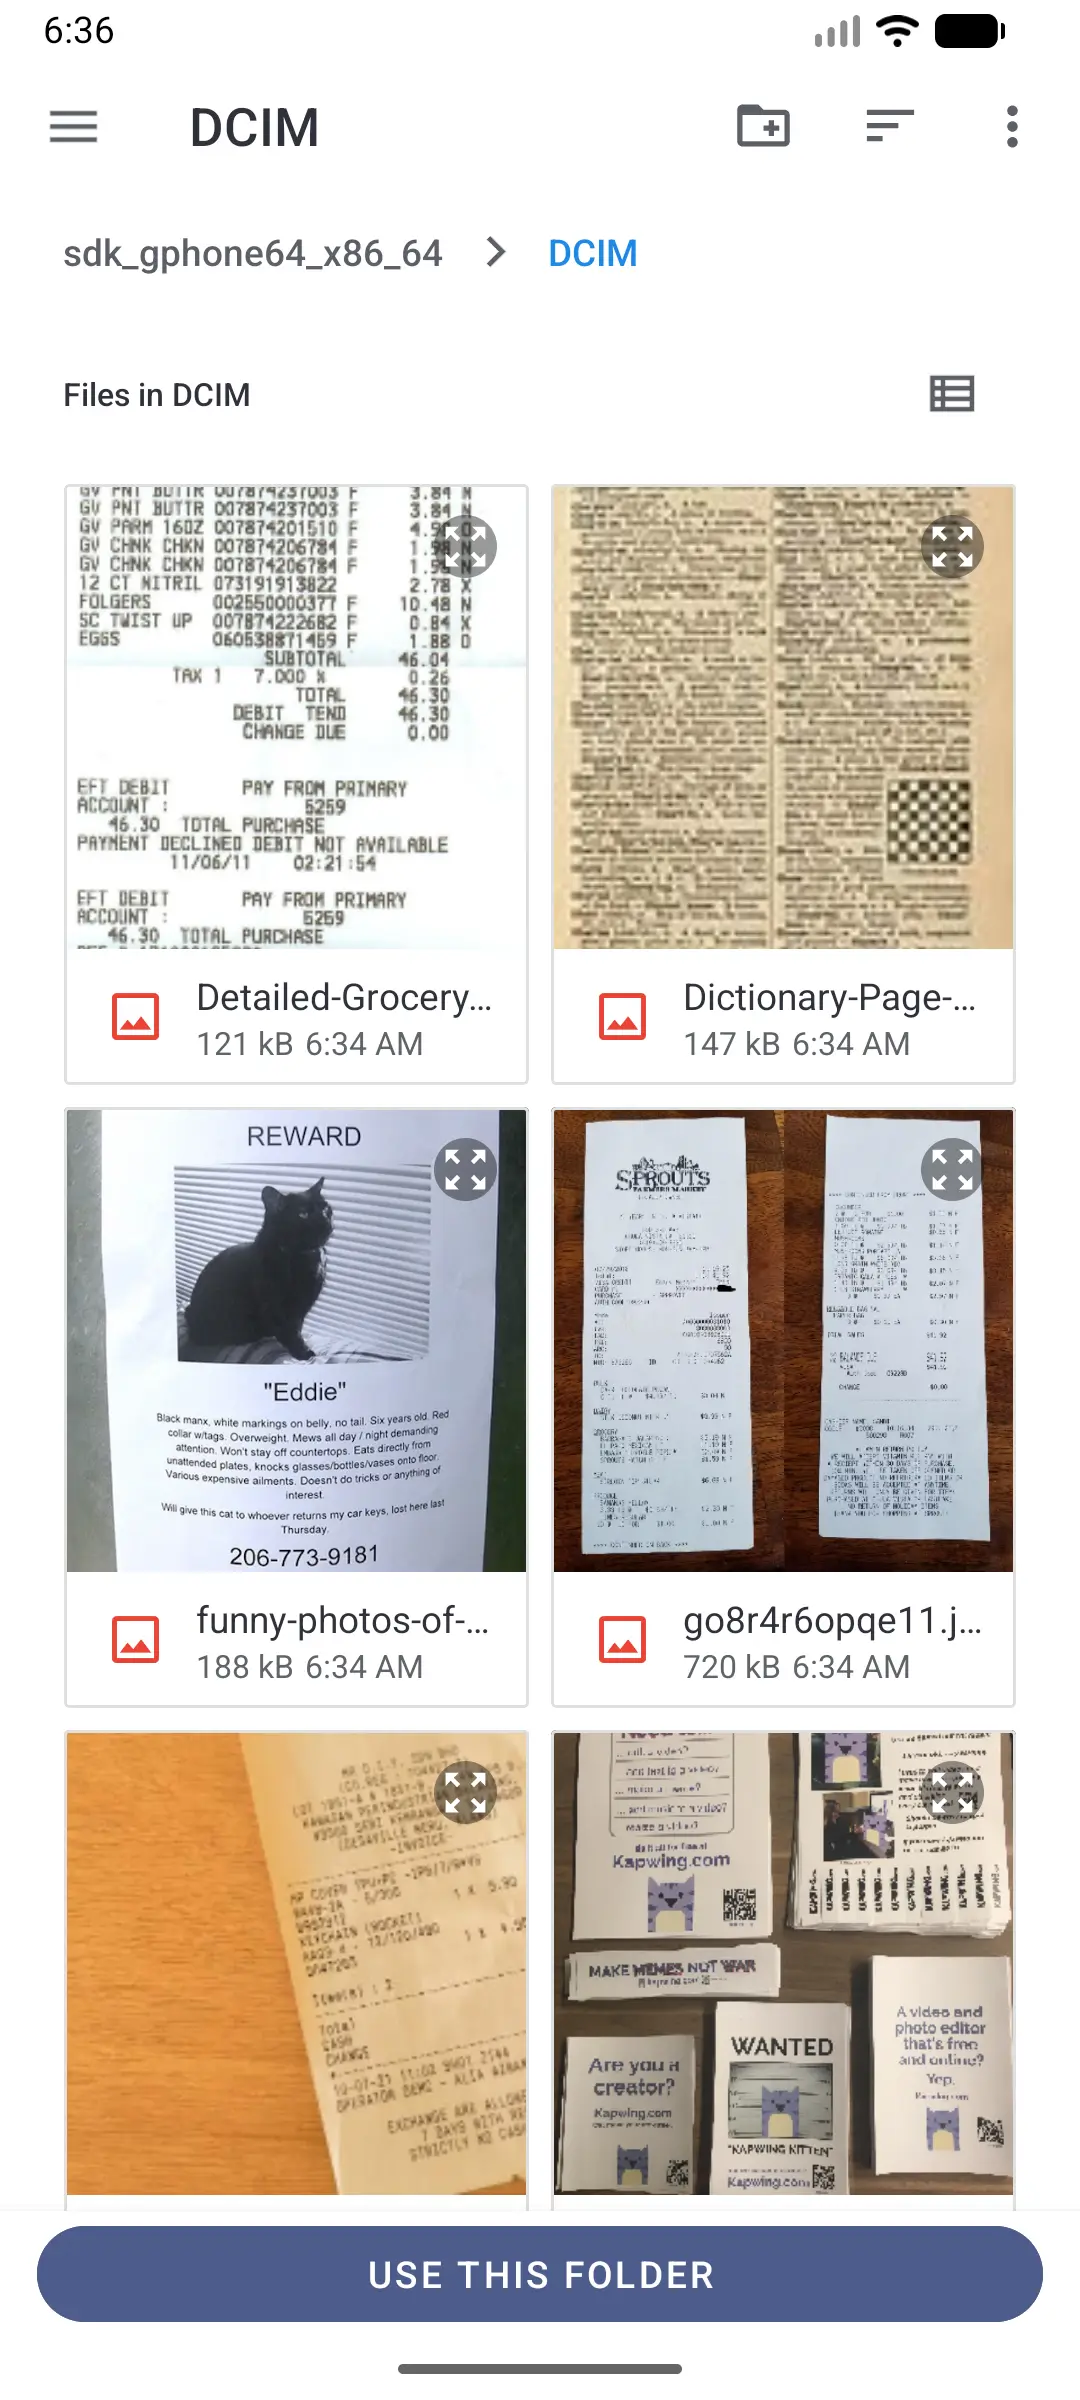
most photos live in. For anything else, tap Add folder to
open the system file browser, navigate to the folder, and tap
Use this folder.
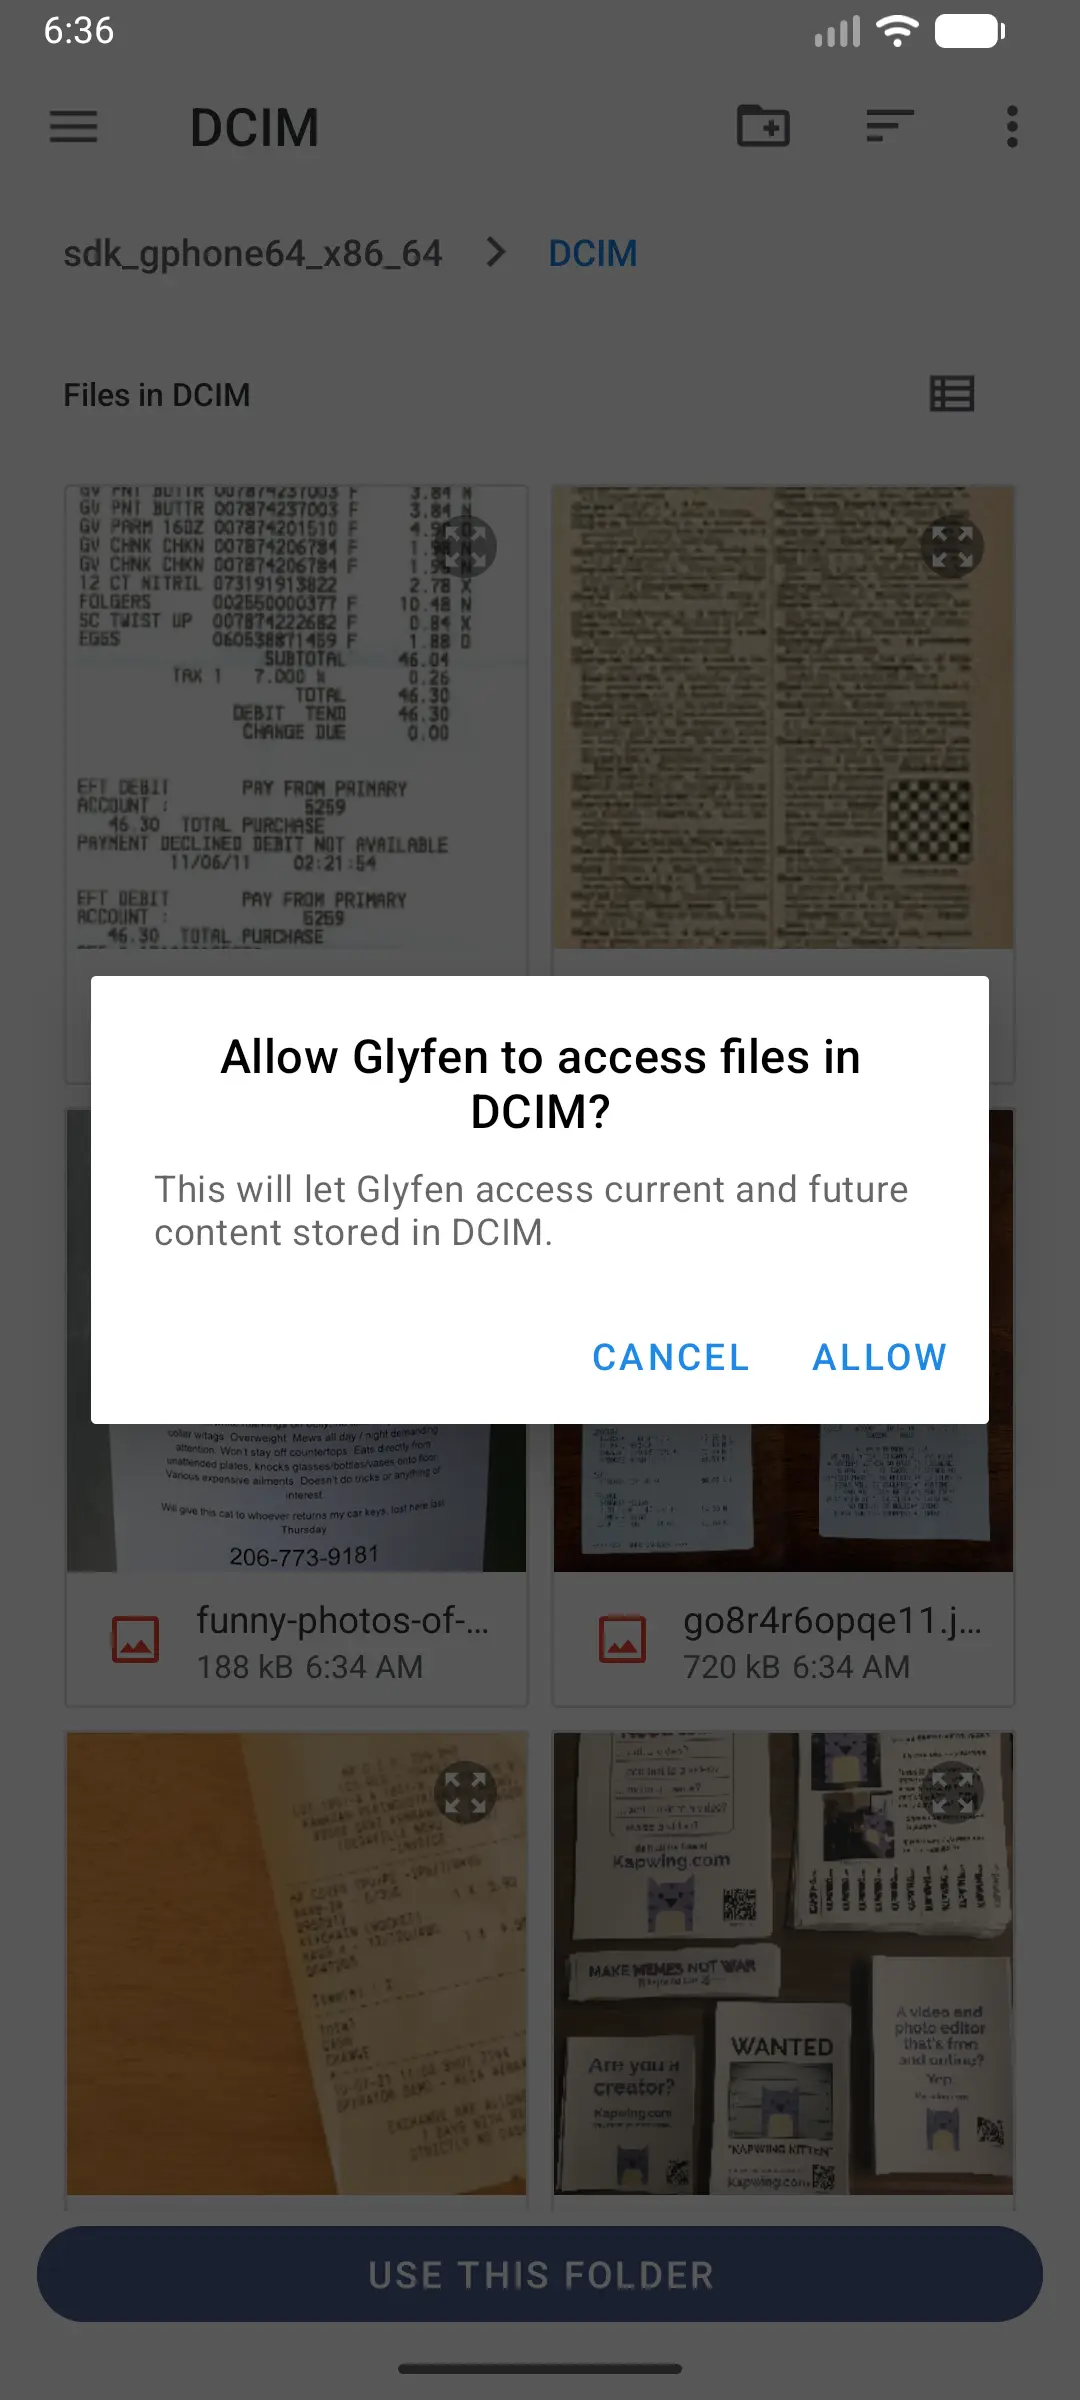
Grant access
Android asks you to confirm: “Allow Glyfen to access files in [folder]?” Tap Allow. This grant is what lets Glyfen read the images in that folder — and only that folder.
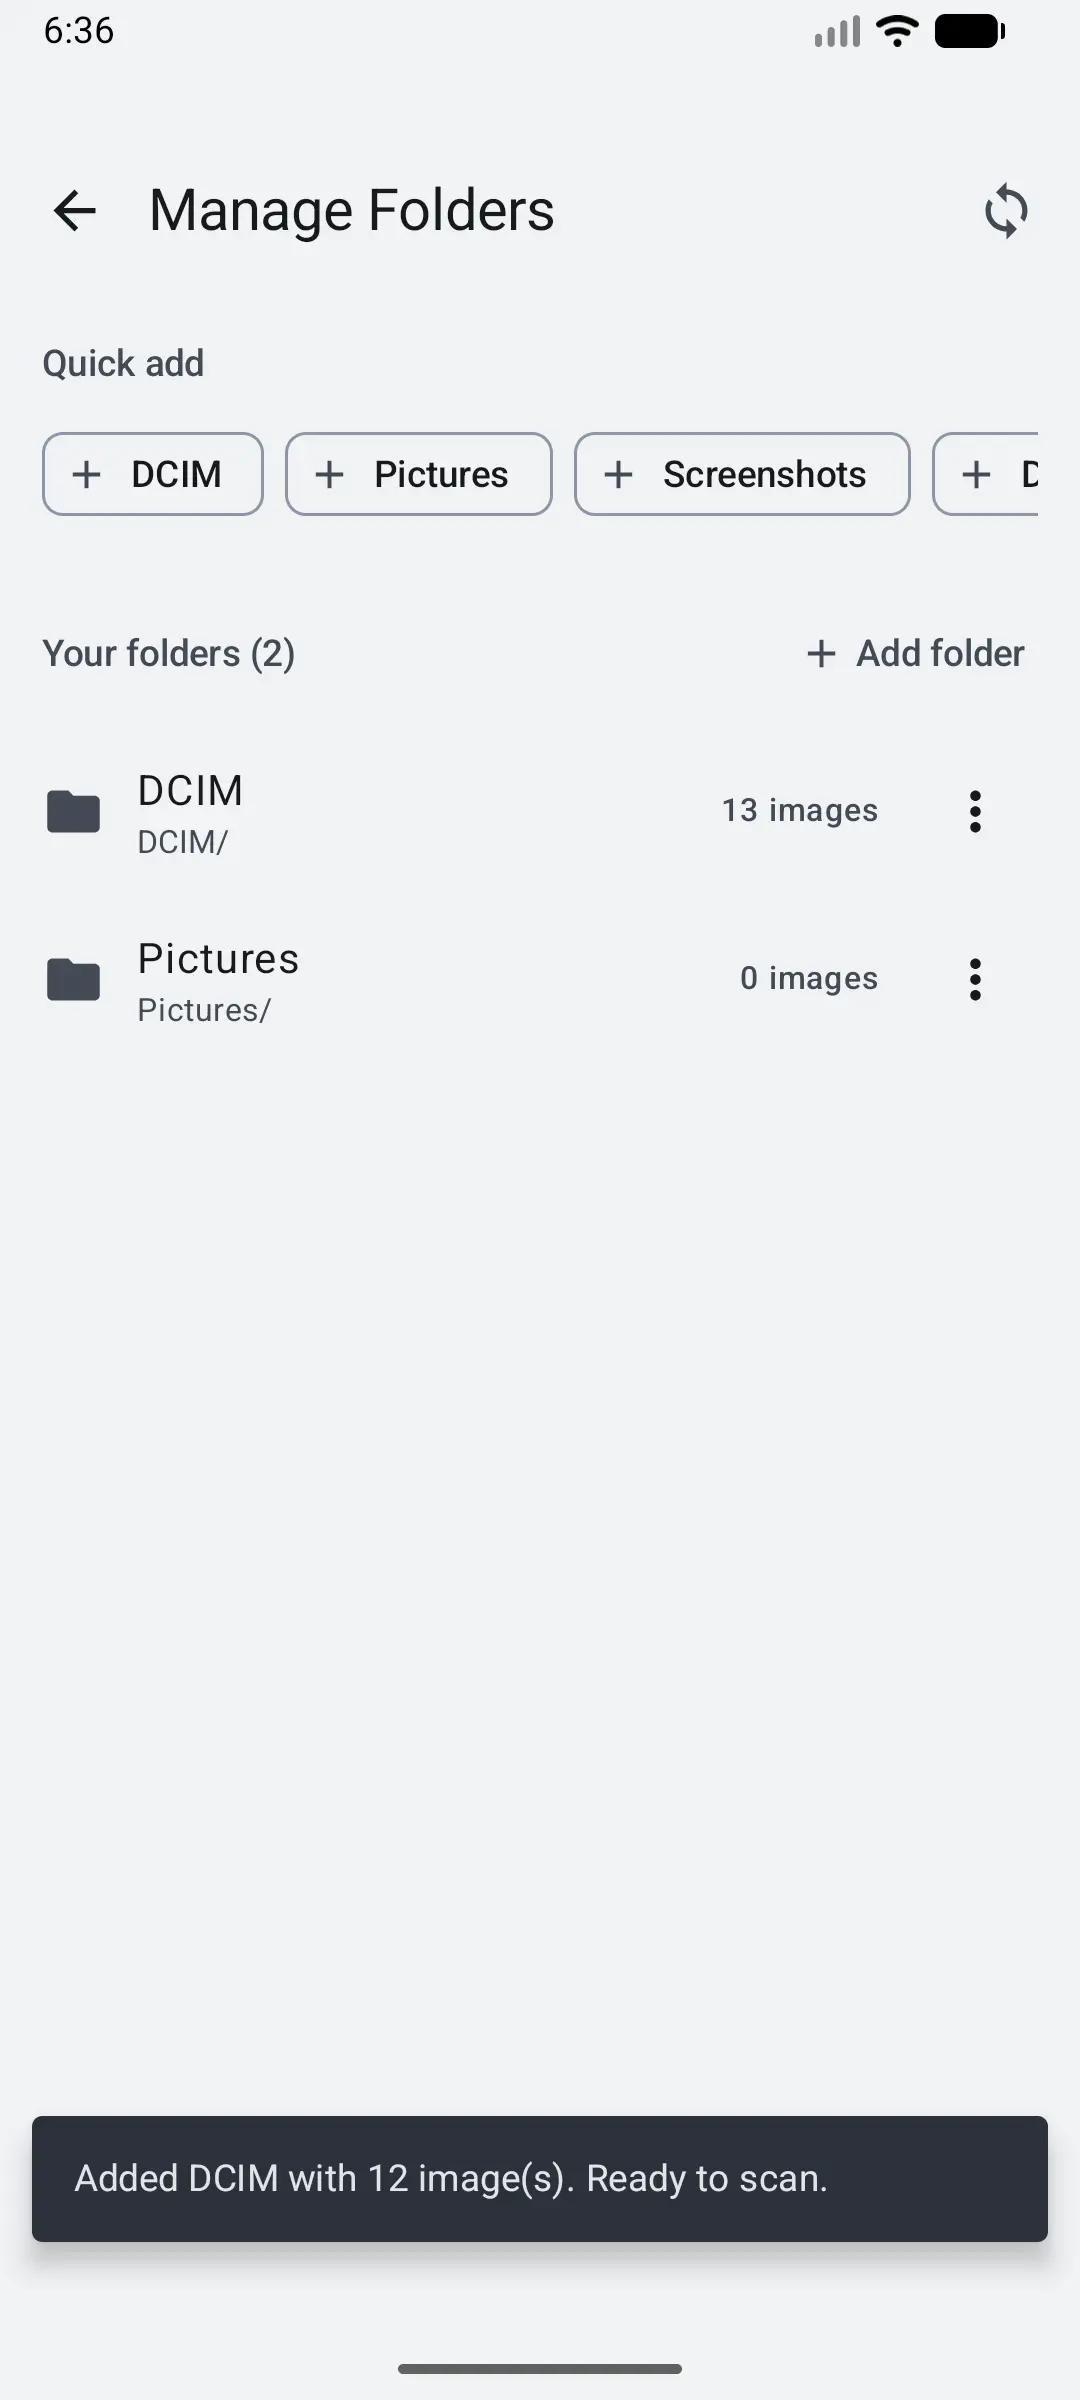
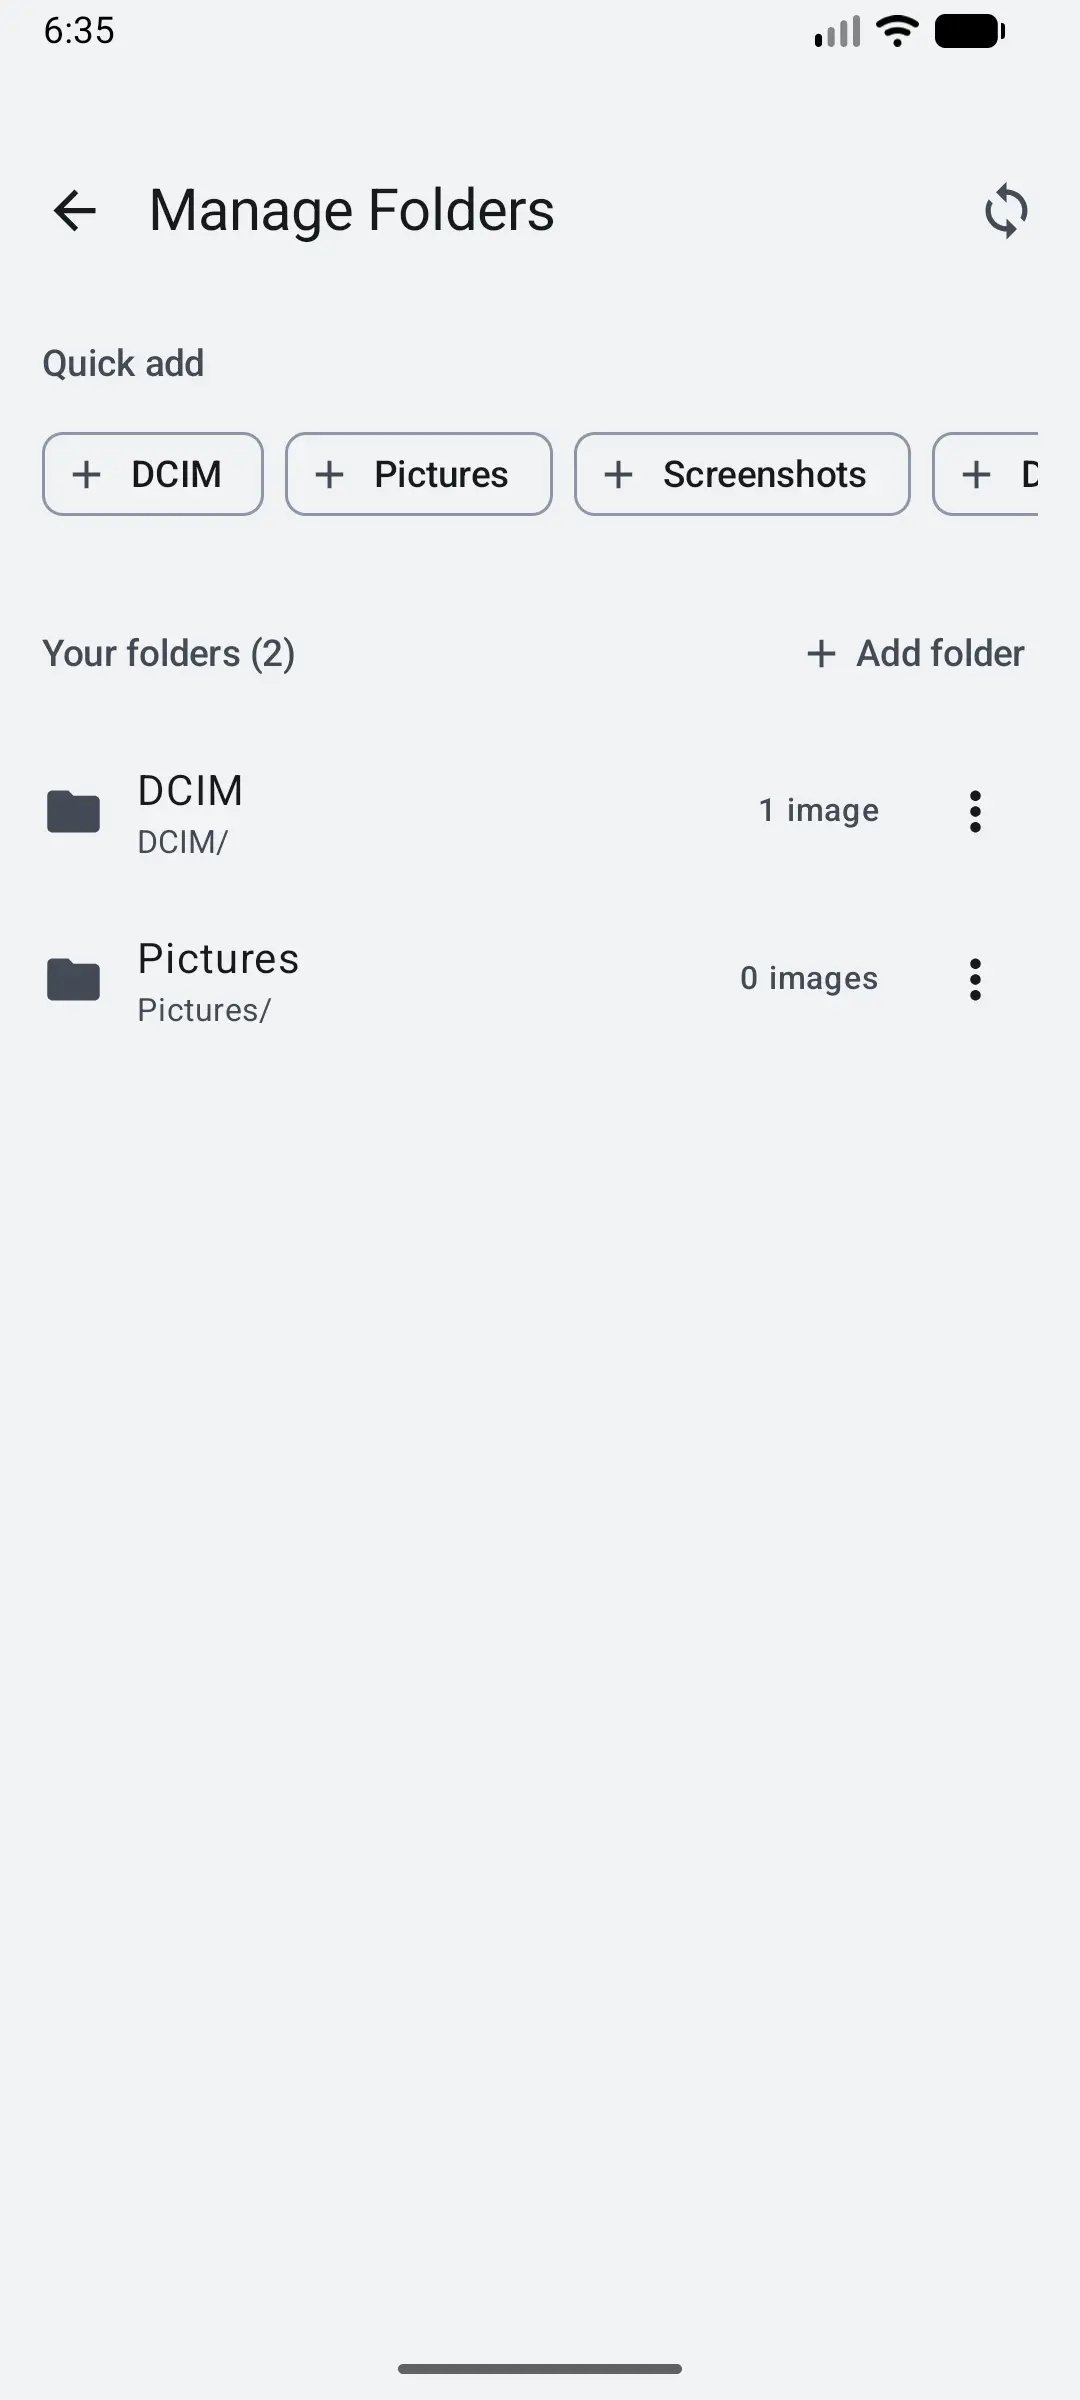
Confirm it was added
Back on Manage Folders, your folder now appears under Your folders with a live image count, and a message confirms “Added [folder] with N image(s). Ready to scan.” Add as many folders as you like; each shows how many images it holds.