Core workflow
Scan your images
Scanning is where Glyfen reads the text inside your photos and builds the searchable index. It all happens on your device — the first scan of a large library takes a little while, and later scans only handle what is new.
Start a scan
Open the Scan tab and tap Process new images for search. Glyfen begins reading the images in the folders you added. Use Re-scan all only when you want to re-process everything (covered below).
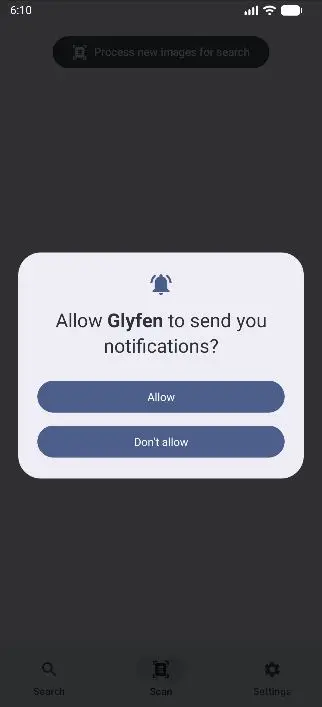
Allow notifications
The first time you scan, Android asks “Allow Glyfen to send you notifications?” Tap Allow. Glyfen uses this purely to show a progress notification while scanning — it is not used for marketing.
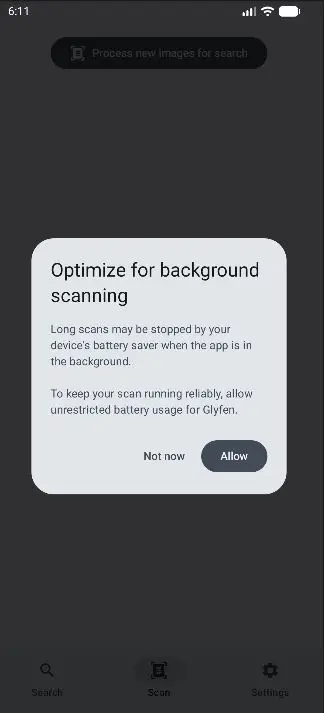
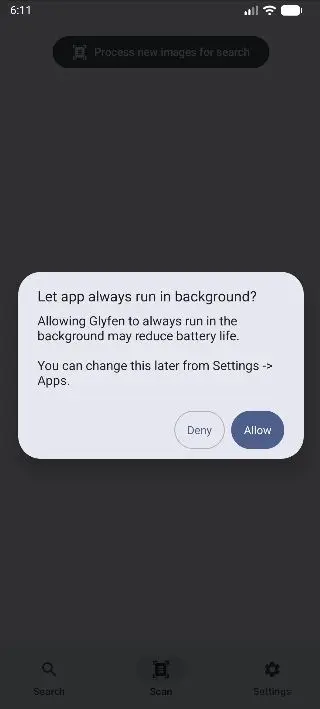
Keep long scans running
Large libraries can take several minutes. To stop your phone’s battery saver from pausing a scan that is running in the background, Glyfen offers to optimize for background scanning. Tap Allow, then confirm Android’s “Let app always run in background?” prompt.
Watch progress
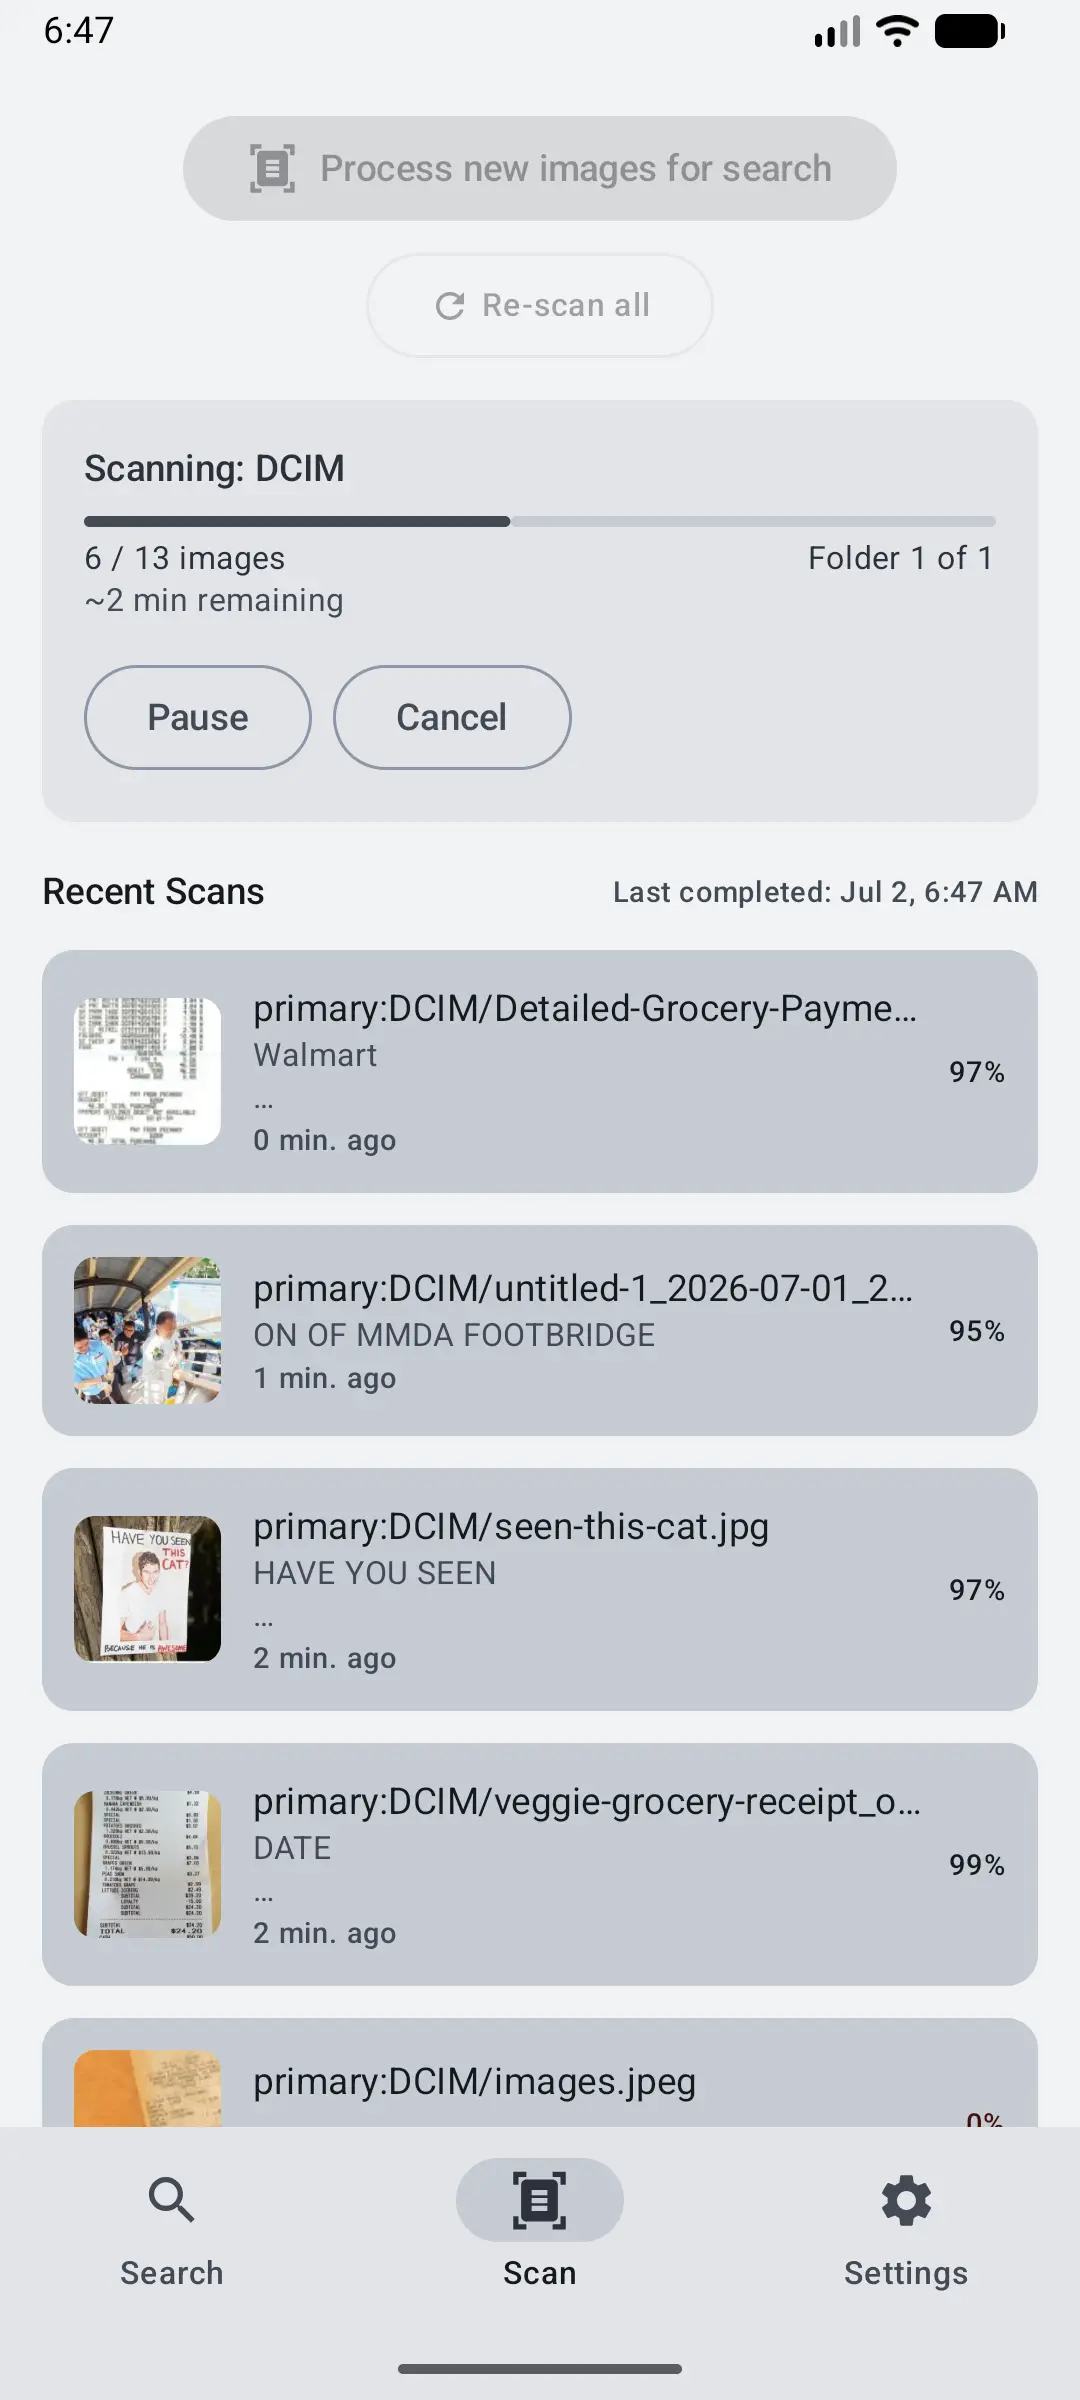
While scanning, Glyfen shows the current folder (“Scanning: DCIM”), a progress bar, an images processed count (e.g. 6 / 13), which folder it is on (Folder 1 of 1), and an estimated time remaining. You can Pause or Cancel at any point.
Recent scans
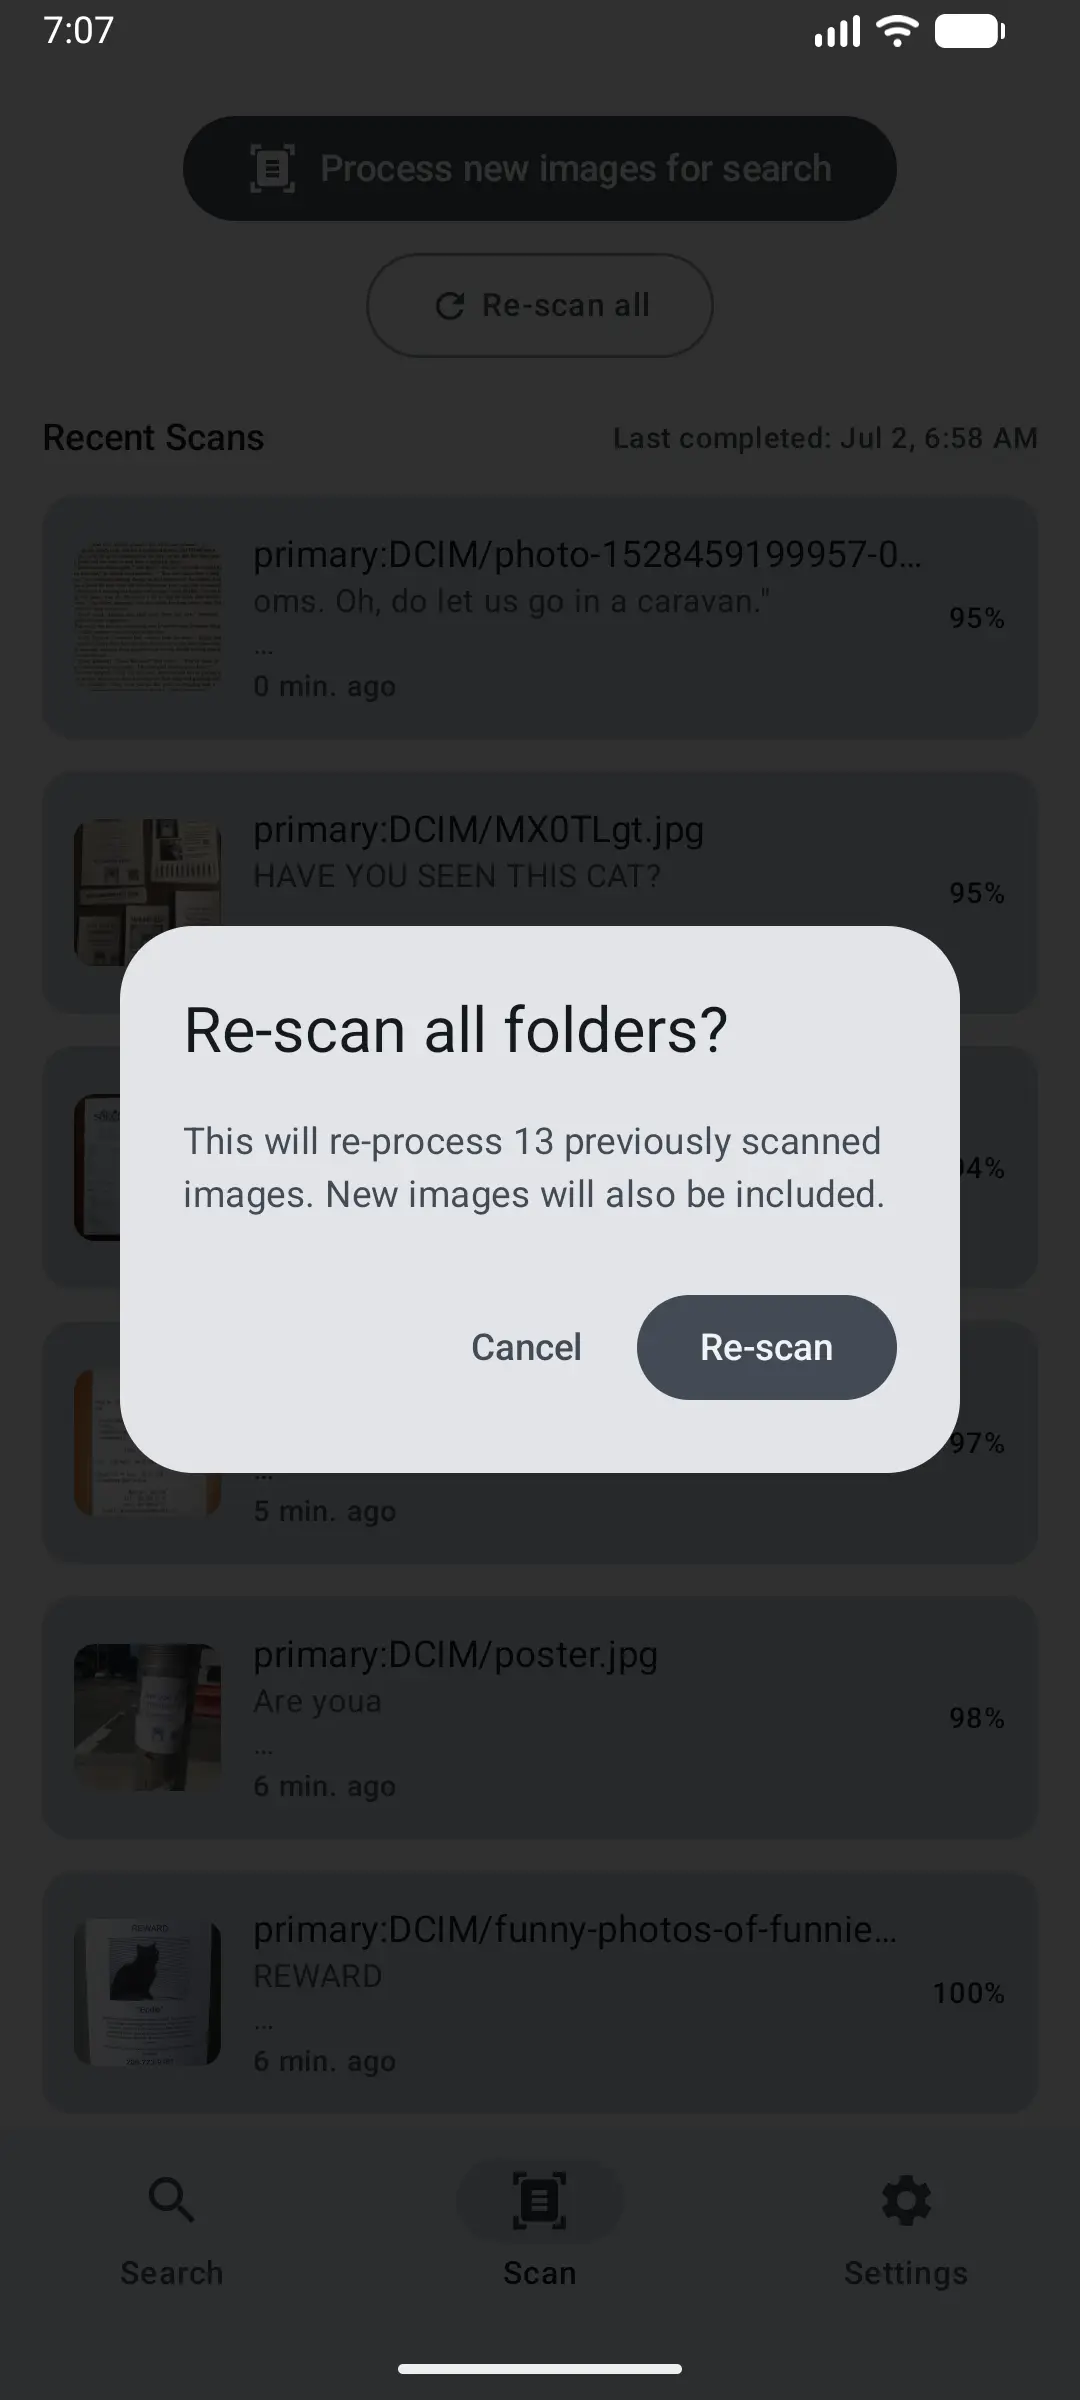
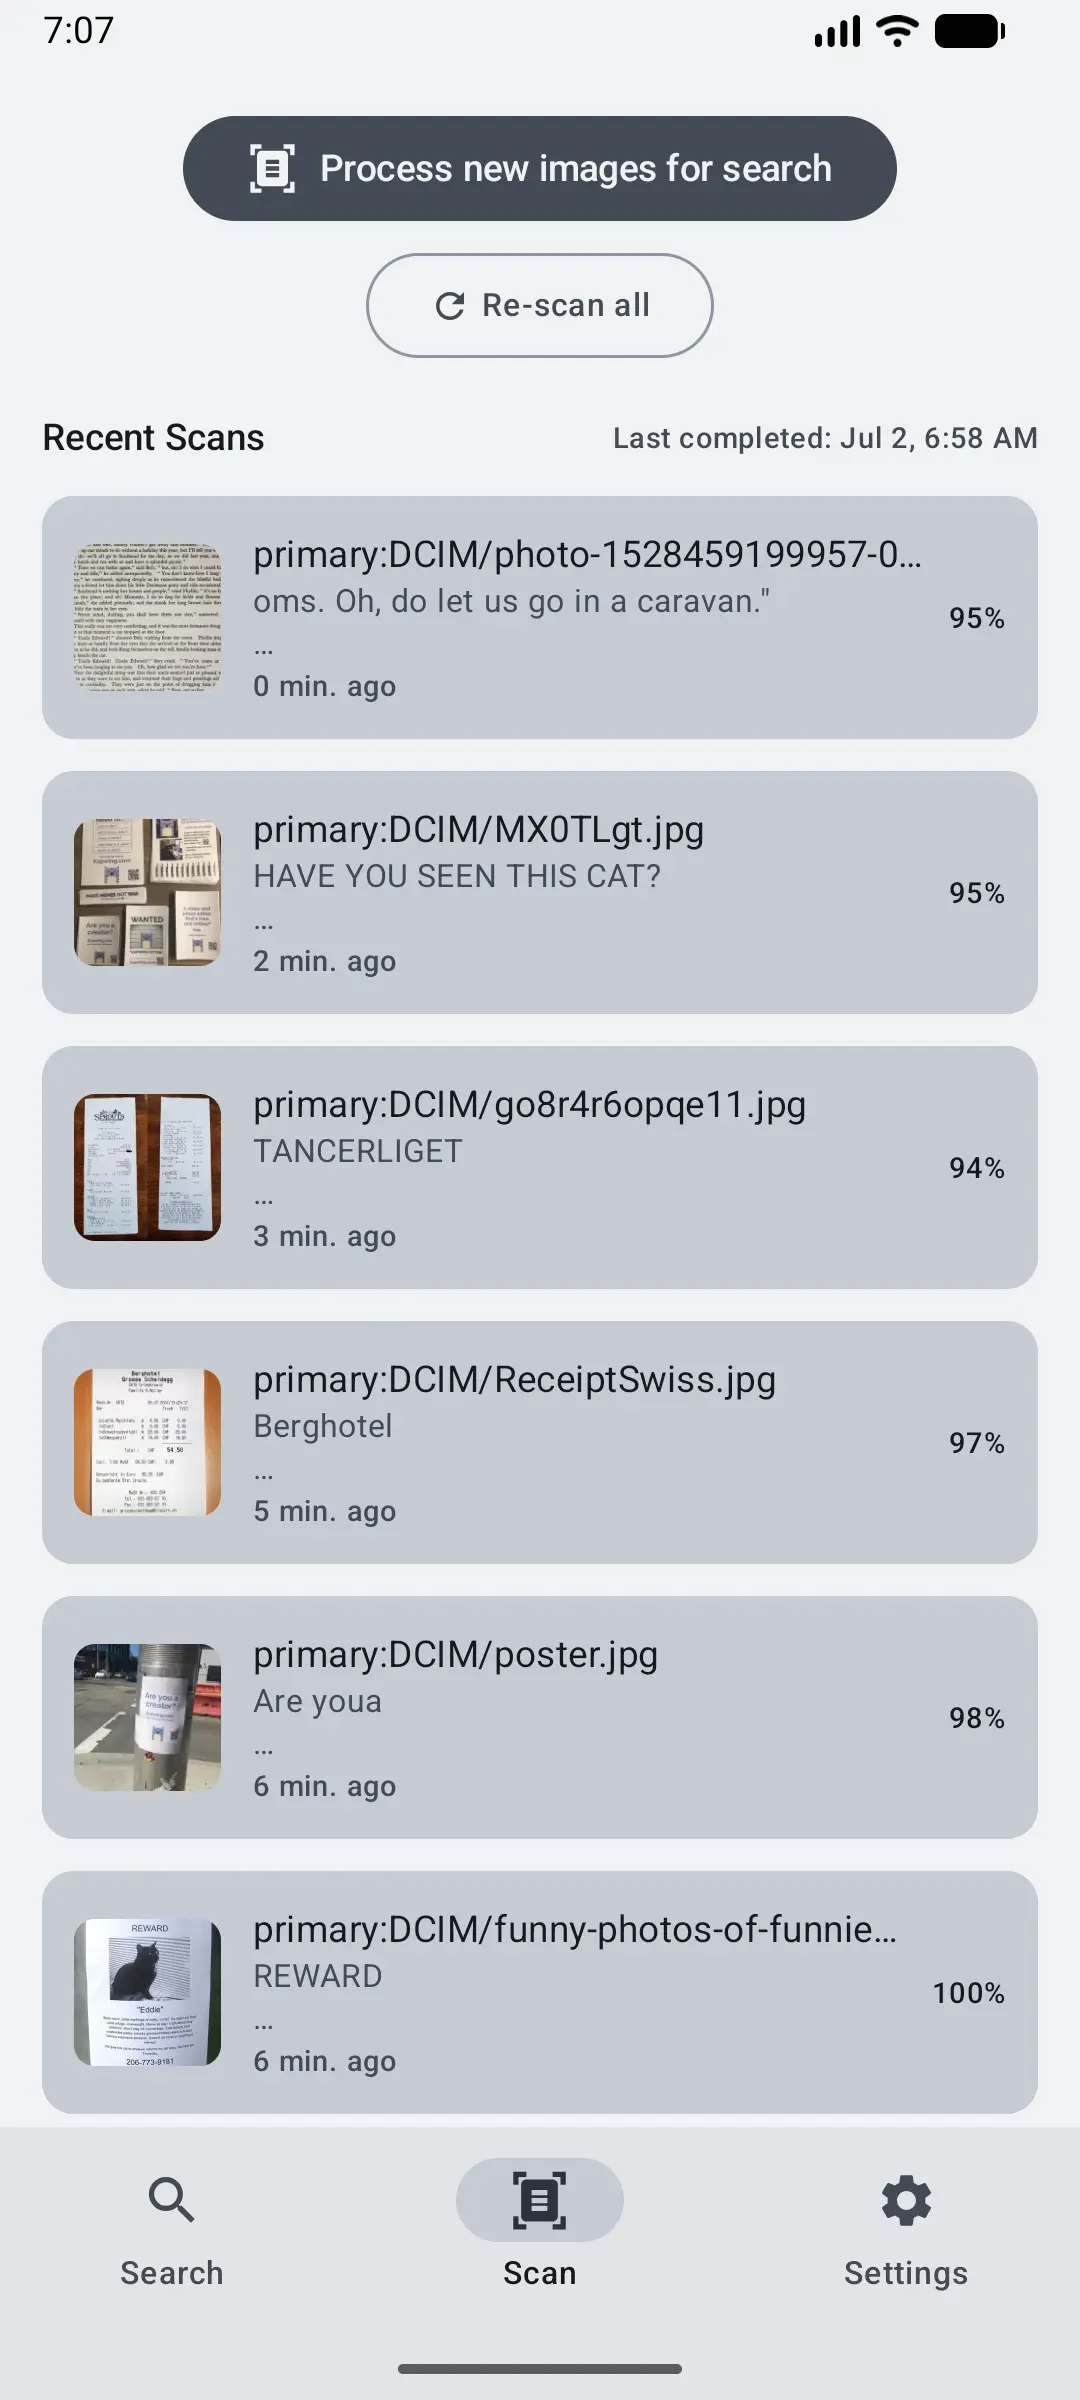
As each image finishes, it appears in Recent Scans with a thumbnail, the file path, a snippet of the detected text, and a confidence percentage. The header shows when the last scan completed. This is your confirmation that text was extracted successfully.
Re-scan folders
Tap Re-scan all to re-process every image you have already scanned (new images are included too). Glyfen confirms first: “Re-scan all folders? This will re-process N previously scanned images.” Use it after a big app update or if results look off; otherwise Process new images is faster since it skips work already done.